I know that I haven't blogged in a while, but I found this blog worthy. I stole this idea from my sister's friend (and my friend too) Kate. She made it out of paper and used it as a bulletin. It is super cute. I got to thinking...I want to be crafty! So I went to DI and found: a wooden lamp stand ($15) and a crate box that was spray painted gold ($1.50). Then, I went to Lowe's and purchased black and bronze spray paint ($4 each) and a plastic sheet ($2). Last, but not least, I went to Hobby Lobby and bought some fake, green branches and red berries ($1-$1.47 a piece).
First, I pulled the light portion of the lamp up at the top and cut the cord. I pulled the rest of the cord out through the bottom. I spray painted the post with my neat, bronze color and let it sit. The box was nailed together (annoying)...so of course I threw it against to ground to break it up...like a psycho. ;) I took the nails out as best I could and then spray painted them black.

Here is the tedious part: I went online and found a cool fonts site and typed in the fictional places one by one. After printing them, I took blue paint-tape and covered the letters (I could still see the letters through the tape...you can outline them on the tape if it's hard to see). Then I killed my thumb nerve as I cut out each individual letter. PLEASE don't comment about using a cricket. I didn't know anyone with a cricket. Obviously, that is easier. (PS My thumb is STILL numb!)

I used sticky tack (borrowed from my friend Deborah) on the letters to stick them to the board before spray painting over the letters with the bronze color.

After the paint dried, it dries quickly, I peeled off the letters. Not bad for the first try. :)

I continued doing this with all of the "signs".

Here is what it looks like taking the sticky tack off.
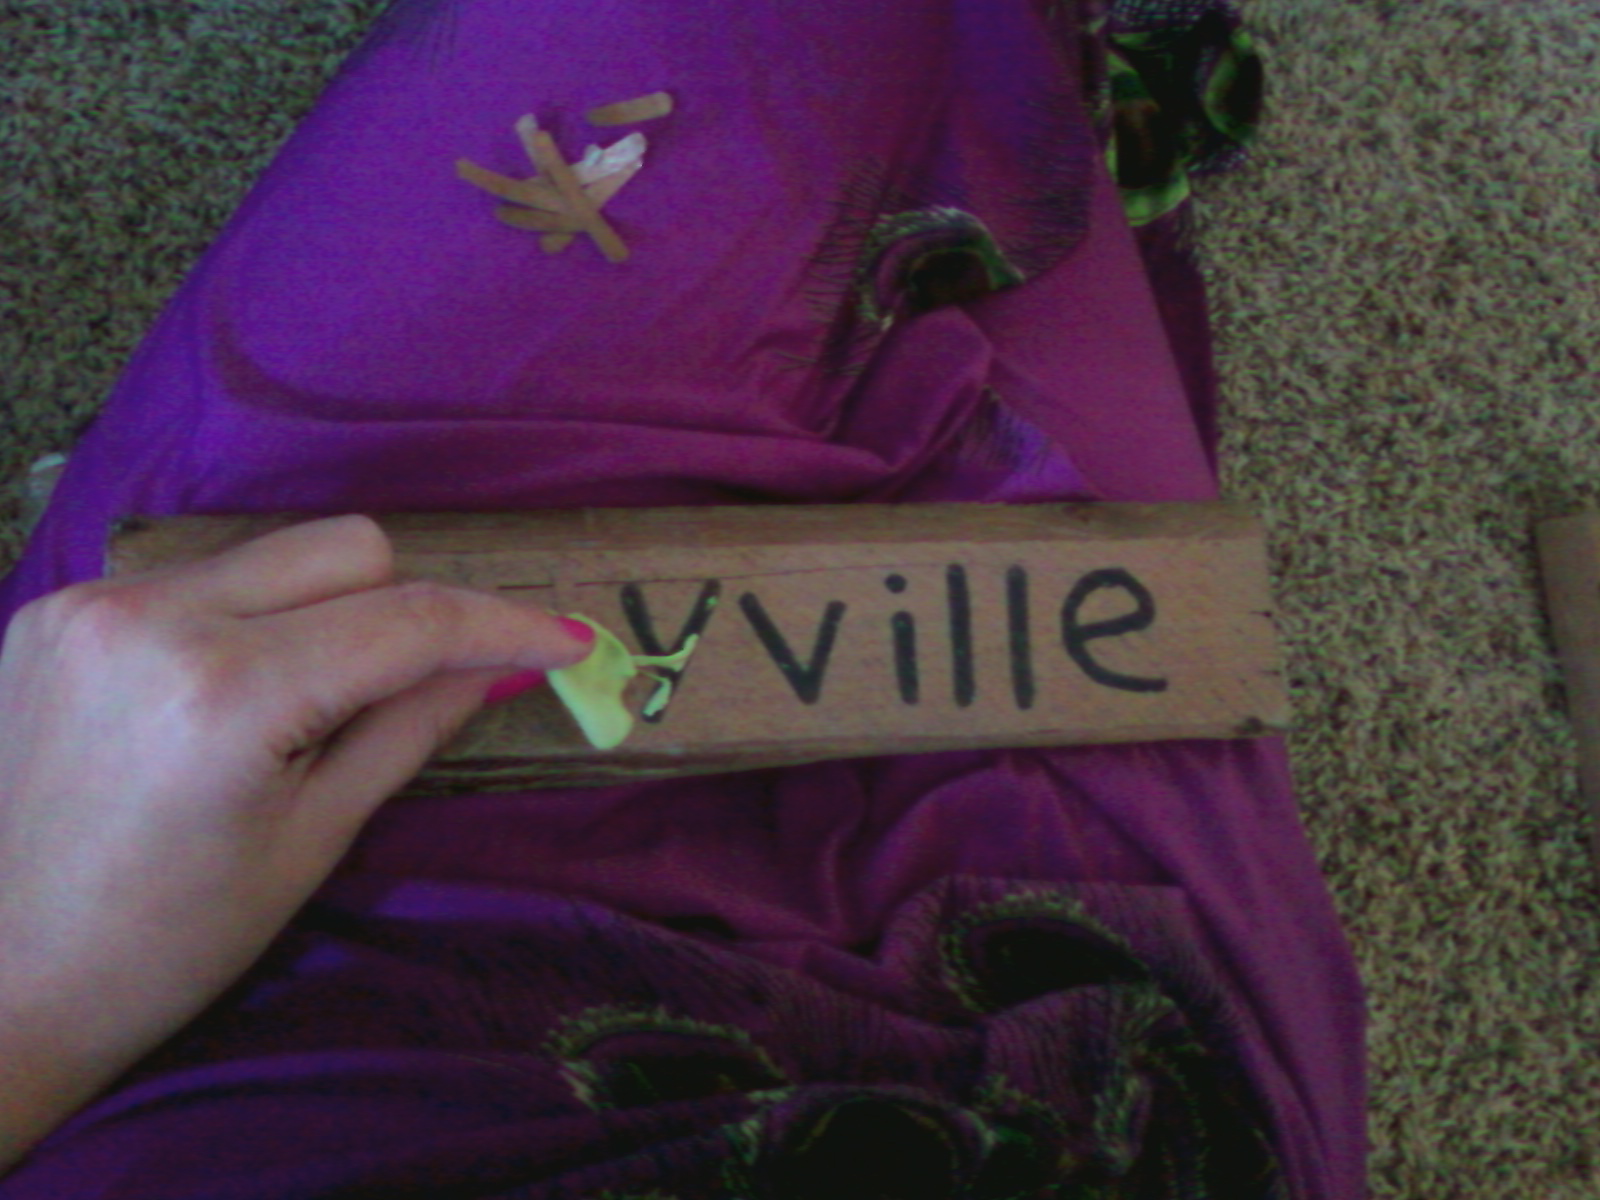
I saved all of the letters in a ziplock baggy...because I'm weird and think I can use some cool fonted, golden letters in the future? :)

When all of the spray painting was finished, I used velcro that I begged, borrowed, and stole, on the backs of the "signs". I started out with the two sides together. I cut off a portion, peeled off the plastic of the scratchy sided velcro, and stuck it to the "sign". Then, I peeled the plastic off of the fuzzy side and stuck it to the post. (**I had made 8 little marks along the post so I would know positions. I just eye-balled it.**)

Here is an example:

And it looked like this:


At this point, I was just so excited that it looked like a sign that I just started taking pictures of it...but it was time to decorate. :) (**Hot glue gun needed.**)

This is what I used for the greenery and berries.

I just experimented for a while until I liked what it looked like.


I used the long stems of the greenery to make it look like vines were climbing up the post. It was bendy because it had a wire through it. Nice. After adding a few berries here and there, I stepped back and thought, I think I must be in a Christmasy mood.

Here is the finished product:

Ember, District 12, Hogwarts, Terabithia, Olympus, Narnia, Uglyville, and Forks.

I have three boards leftover. I'm going to save them in case a cool new book comes out and I want to swap it in. :) Well, that's the end of my neat-o story on how I made my sign for my classroom. Yay!

Take a picture of me! ha ha. :D

(Yes, I wore that dress while spray painting. ha ha)


